|
Introduction Pipe Chanter Reeds
- What you require
- Shaping the Chanter Reed
- Cane Gouge
- Reed Blade Former
- Reed Staple Cutter
- Chanter Reed Staple Roller
- Chanter Reed Staple Former
- Chanter Reed Assembly Jig
Drone Reeds
- What you require
- Making the Drone Reed
- Diagram Index
- Drone Reed Jig
|
Shaping the Chanter Reed
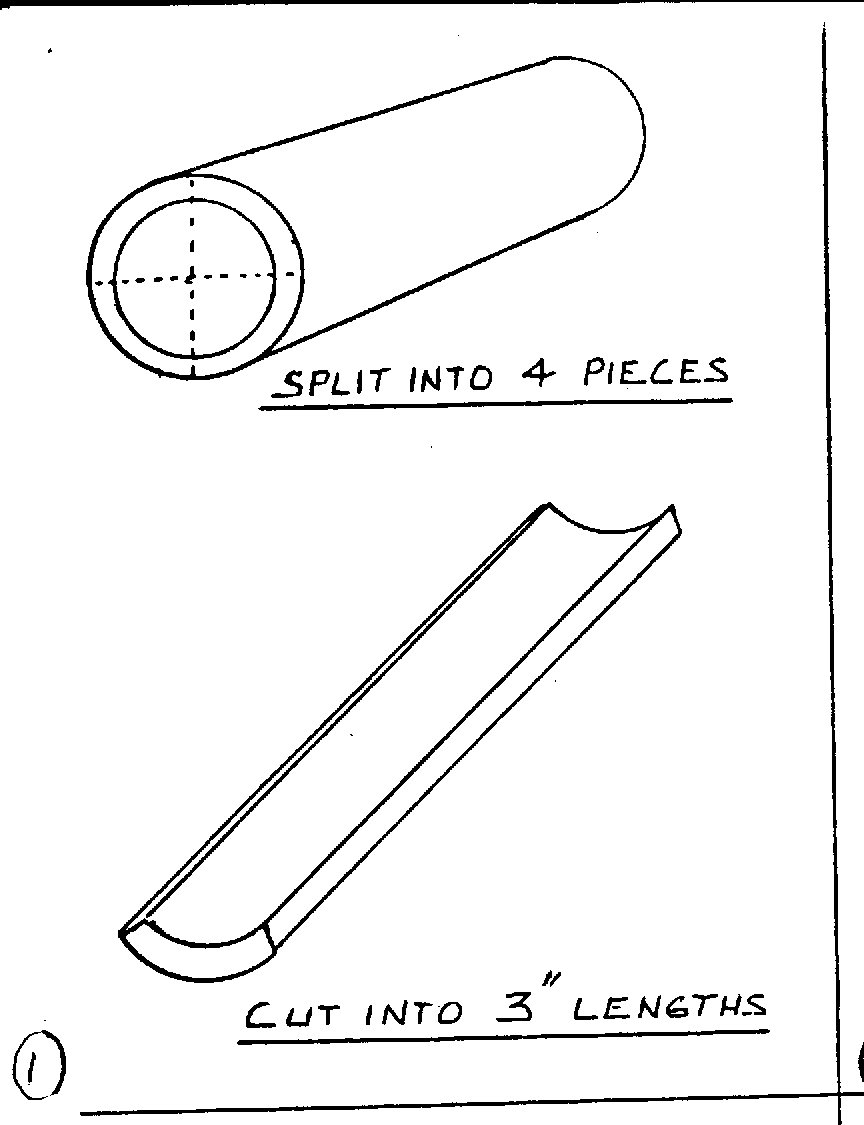
- A raw cane billet comes in its natural cut state and can be in a variety of lengths. This is determined by the growth pattern of the individual cane and the placement of the growth knuckles. Generally the lengths are between 6 -12 inches long and vary in diameter between 22 -25 millimeters.
- Carefully select your cane and inspect for flaws, disease, and splits caused in cutting or transit. If acceptable, the cane can then be sectioned into four.
- To section a piece of cane, all that is required is a sturdy sharp knife to be placed on one end of an upright piece of cane and a rapid blow with the heel of the hand to the dull side of the knife blade. This action will result in the cane splitting down the full length and following the natural grain of the wood. A twist of the knife blade completes the maneuver and causes the cane to fall in two halves. Repeat this method on the two halves to arrive at four pieces.
To attempt to SAW down the length of the cane will result in bad reeds with a great tendency to warp.
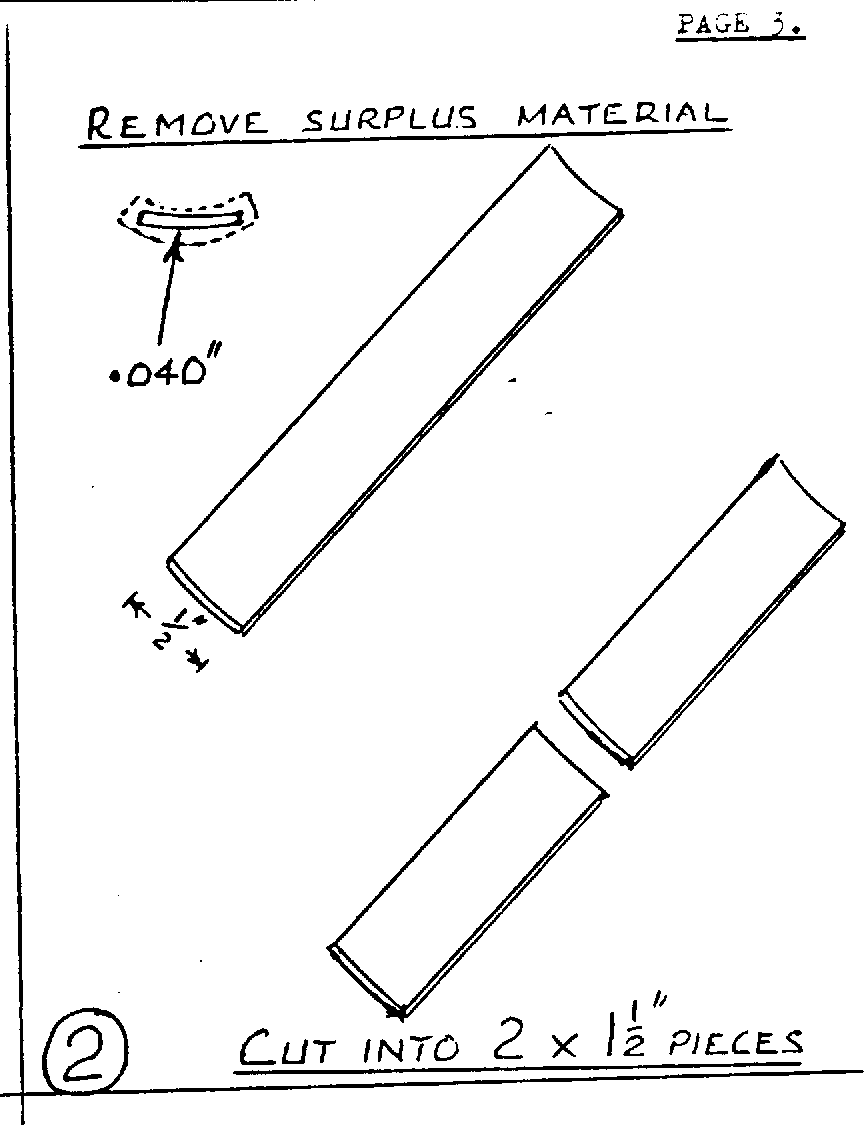
- Cut the sectioned lengths into 3" pieces and remove the surplus material from the back and edges as described in diagram 2 on page 3. It is important at this stage to remove as little material as possible from the outer side of the reed blade. You will see that the outer side has a natural hard shiny skin and it is desirable to retain as much of this hardness as is feasible.
- Having arrived at the desired thickness of .040" along the full length of the blade, cut across the middle with a hand saw to result in two pieces 1-1/2" long as indicated in diagram 3 page 3.
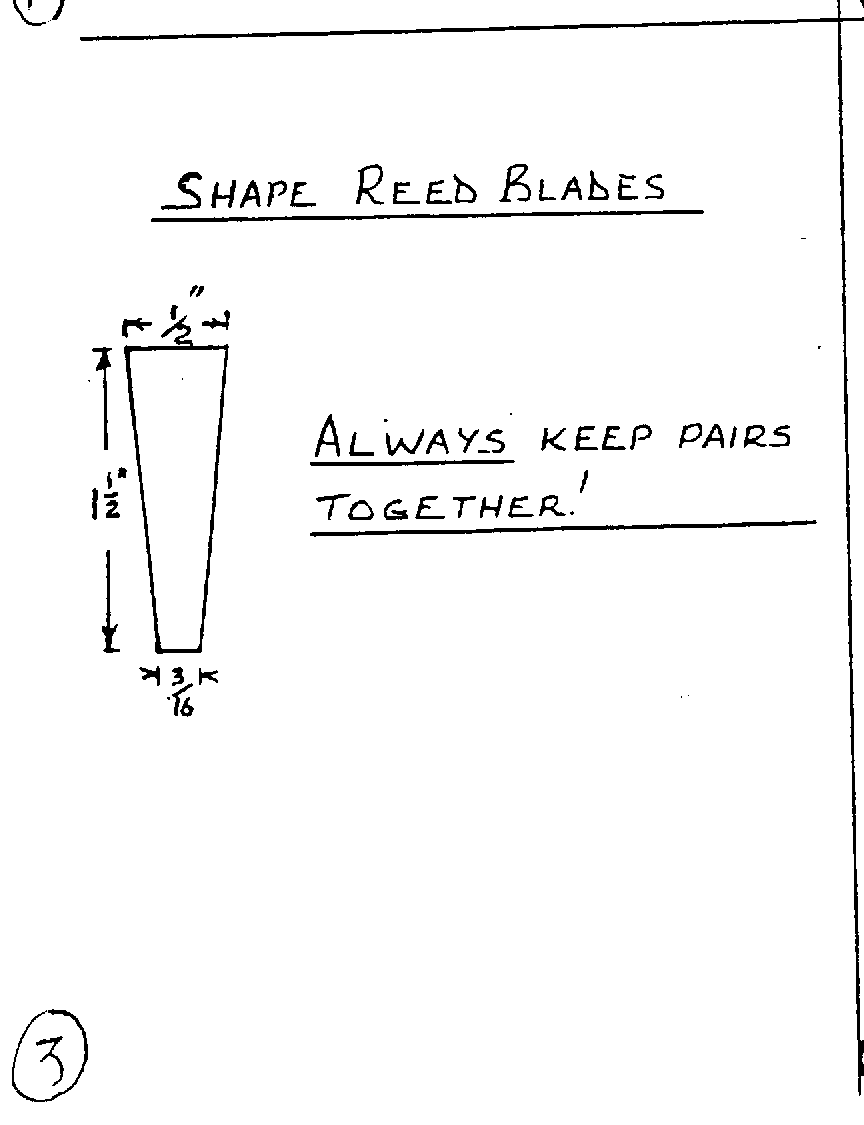
- It is imperative that those pairs remain as pairs throughout the entire process of construction.
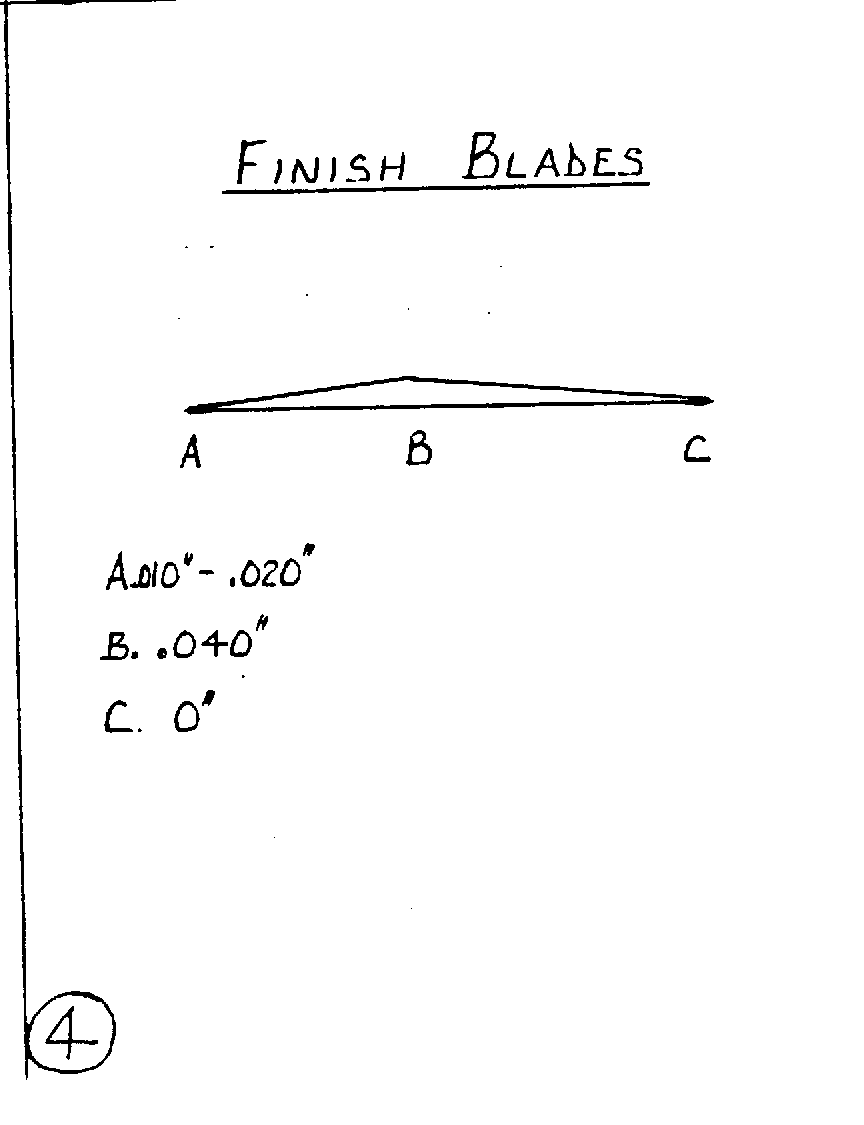
- 7. After final shaping as shown in diagram 4, select three pairs of blades and wrap a couple of turns of hemp around each pair separately. The cane now has to be soaked for a few minutes and the hemp will prevent the separation of the pairs. Place all three reed blade pairs into a shallow dish of water. While these are soaking, it is a good idea to make more blades or a few staples just to allow the cane an honest few minutes to soak. Cane will form around the staple when thoroughly soaked whereas a dry can will split.
- When ready to wrap the cane onto the staple select another pair for soaking whilst the wrapping is being done.
|